When it comes to printing on coroplast, you’re working with a surprisingly tough, weatherproof, and lightweight material that’s perfect for all kinds of temporary signs. But getting a great result starts long before the printer even warms up. Your success hinges on picking the right material thickness and understanding its internal structure—the flutes.
Getting these small details right can be the difference between a sign that looks professional for months and one that fails after the first windy day.
Choosing the Right Coroplast for Your Project
Before a single drop of ink touches the surface, you need to think about the foundation of your sign. The choices you make on thickness and flute direction are what will determine if your sign can stand up to the job you have in mind. These two factors directly control the sign's stiffness, durability, and how you can actually install it.
There's a reason the North American coroplast market was valued at USD 402.90 million in 2023. Businesses everywhere need affordable, weather-resistant materials for short-term advertising, and coroplast delivers. It's a proven workhorse.
Finding the Ideal Thickness
The first decision you'll probably face is whether to go with 4mm or 10mm coroplast. It’s a simple choice with big implications.
Think of 4mm coroplast as the go-to standard for most temporary signs. It hits that sweet spot between being budget-friendly and durable enough for common jobs like:
- Practical Example: A local contractor needs 50 signs to place on the lawns of homes they've recently serviced. 4mm coroplast is the ideal choice—it's inexpensive enough for wide distribution but sturdy enough to last for a few months, advertising their work to the neighborhood.
- Real estate signs: Perfect for "For Sale" or "Open House" announcements.
- Political campaign signs: Easy to deploy across entire neighborhoods quickly.
- Event wayfinding: Guiding people around festivals, golf tournaments, and fairs.
But when you need something with more muscle, 10mm coroplast is the clear winner. The extra thickness gives it a serious boost in rigidity, making it the right call for larger signs that can't afford to bend or warp.
- Practical Example: A construction company is putting up a 4×8 foot sign on the fence of a new development project that will last for a year. 10mm coroplast is the right call here because its added stiffness will prevent it from bowing or flexing in the wind over that extended period.
And for projects that need even more longevity and a high-end look, it might be worth exploring our guide on aluminum composite signage.
Here’s a quick reference to help you decide.
Coroplast Thickness and Common Applications
A quick reference guide to help you choose the right coroplast thickness based on your project's specific needs and use case.
| Thickness | Common Use Cases | Key Benefit |
|---|---|---|
| 4mm | Real estate yard signs, political campaigns, event directions, temporary promotions. | Cost-effective and lightweight for short-term use. |
| 10mm | Larger A-frame inserts, construction sites, semi-permanent outdoor displays. | Increased rigidity and durability for bigger signs. |
Ultimately, your choice comes down to balancing your budget with how long you need the sign to last and how big it needs to be.
Why Flute Direction Matters
This is the detail that trips up so many people. The "flutes" are the small, hollow channels running through the coroplast sheet, just like in cardboard. The direction they run dictates how the sign can be installed. It’s a simple detail, but getting it wrong is a costly headache.
Actionable Insight: Always specify flute direction based on your mounting method. For standard yard signs using H-stakes, you must request vertical flutes. If you're hanging the sign on a fence with zip ties through the top and bottom, horizontal flutes will provide better rigidity against sagging.
Imagine you order 100 yard signs for a fundraiser. They show up, and the flutes are horizontal. Your H-stakes are now completely useless—they have nothing to slide into. It’s a common mistake, but it happens all the time.
On the other hand, if you're screwing a larger sign to a wall between two posts, horizontal flutes can provide better resistance against bending across the sign’s width. Just be sure to tell your printer exactly how you plan to display the sign so they can get the flutes running in the right direction for you.
Selecting the Best Coroplast Printing Method
Once you’ve settled on the right coroplast material, the next job is bringing your design to life. The printing technology you choose is a huge factor—it directly shapes how your final sign looks, how long it lasts, and how much it costs. Figuring out the best process is key, whether you need one vibrant, full-color sign or a thousand simple ones.
Printing on materials like coroplast is a massive industry. Just look at the global packaging printing market, which was valued at a staggering USD 365.98 billion in 2024. That number alone shows just how vital high-quality printing is for branding and communication.
The Power of UV Flatbed Printing
For most modern sign jobs, UV flatbed printing is the go-to choice. It’s a pretty straightforward process: the coroplast sheet is laid flat on a large table, and a printer head moves back and forth, spraying ink directly onto the surface. The magic happens right after—high-intensity UV lamps instantly cure the ink, hardening it and bonding it right to the plastic.
This method really shines for a few reasons:
- Exceptional Detail: UV printing nails the small stuff. It can reproduce crisp photographs, complex logos, and detailed designs with incredible sharpness.
- Vibrant Color: Because the inks cure on top of the coroplast instead of soaking in, you get brilliant, punchy colors that really grab your attention.
- Durability: That instant curing process creates a tough, scratch-resistant finish that holds up beautifully against the elements, from sun to rain.
Practical Example: A local coffee shop needs 25 custom signs for a weekend sidewalk sale. UV flatbed printing is perfect here. It delivers a full-color, high-res design without the high setup costs of other methods, making small batches completely affordable.
This simple guide can help you match the right material thickness to your project before you even think about printing.
As you can see, the first big decision is matching the coroplast thickness to the job—like 4mm for standard yard signs and 10mm for big, sturdy displays.
When Screen Printing Makes Sense
While UV printing is incredibly versatile, the old-school method of screen printing still has its place, especially when you need a huge volume of simple signs. This traditional technique works by pushing ink through a mesh screen that’s been stenciled with your design. You need a separate screen for every color, which is why it’s ideal for one- or two-color jobs.
Think about screen printing for projects like these:
- Political Campaigns: When you need thousands of identical yard signs, it's the most cost-effective way to go.
- Real Estate Franchises: Perfect for bulk orders of standardized "For Sale" signs.
- Event Parking: Simple, one-color directional signs produced in massive quantities.
The main catch is the initial setup cost. Making the screens takes time and money. But once they’re ready, the cost per sign plummets, making it the undeniable winner for huge print runs. If you want to dive deeper, you can also check out resources on different printing technologies like UV and sublimation.
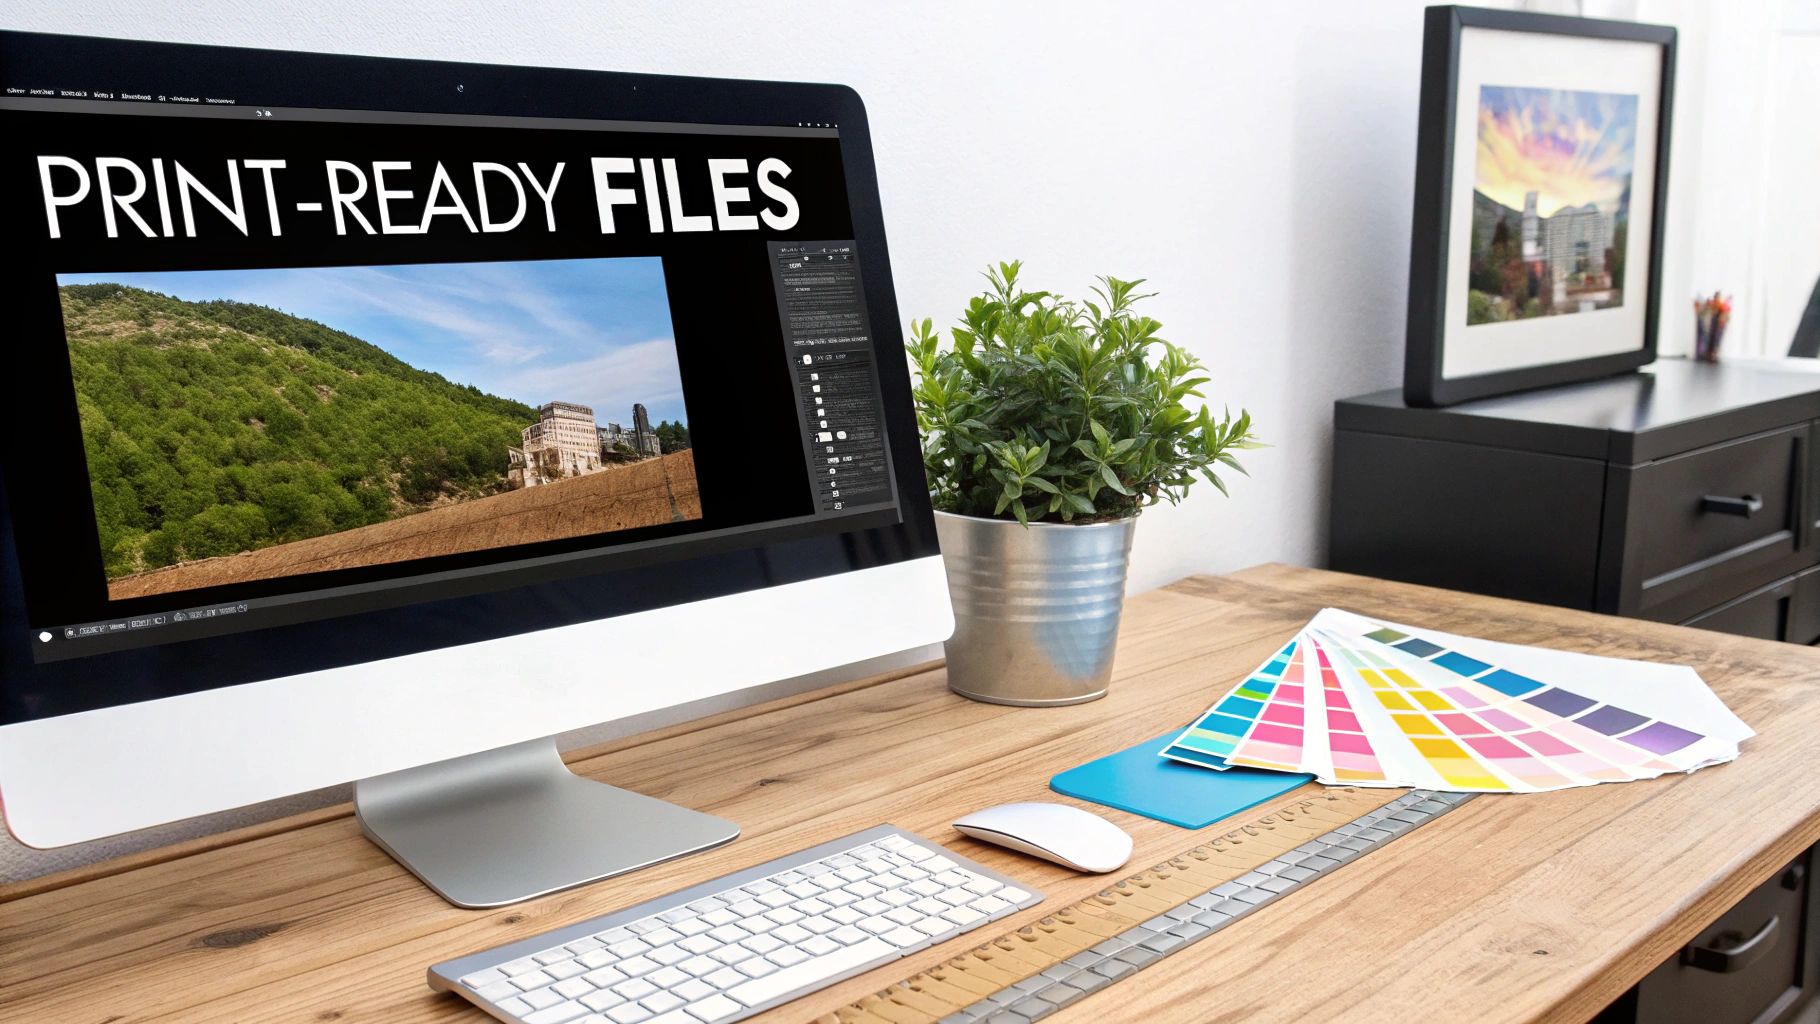
Preparing Your Artwork for Professional Printing
A professional-looking sign starts with a professional-quality digital file. Getting your artwork ready for printing on coroplast isn’t rocket science, but skipping a few key steps is the fastest way to get a disappointing result. Simple mistakes in the file setup can lead to blurry images, off-brand colors, and even surprise charges from your printer.
Think of your design file as the blueprint for your sign. If the blueprint is flawed, the final structure will be, too. Taking a few extra minutes to prep your artwork correctly ensures what you see on your screen is exactly what you get on your finished sign.
Vector, Resolution, and Color Mode
The first checkpoint is to nail down the core components of your file. This trio of settings—file type, image resolution, and color mode—dictates the fundamental quality of your print.
For any logos, text, or shapes, always use a vector format. Files like AI (Adobe Illustrator), EPS, or a vector-based PDF are perfect because they use math, not pixels. This means they can be scaled up to any size—from a business card to a billboard—without ever losing sharpness.
If your design includes photos, resolution is everything. A bare minimum of 150 DPI (dots per inch) at the final print size is non-negotiable to avoid a pixelated, amateurish look. Just as important, your file must be in CMYK color mode, not RGB. Your screen uses RGB (Red, Green, Blue) light to display color, but printers use CMYK (Cyan, Magenta, Yellow, Black) ink. Printing an RGB file will almost always cause a noticeable color shift.
Essential File Prep for Flawless Production
Beyond the basics, a couple more steps are absolutely critical for a print-ready file. These little details help the production team print and cut your sign perfectly without any delays.
- Outline Your Fonts: This is a big one. Always convert your text to outlines or curves before sending the file. If you don't, and the printer doesn't have the exact font you used, their computer will substitute it with a default font—completely wrecking your design. While you're at it, you can find great advice on choosing readable typefaces by looking at fonts for metal signs, since the same principles of clarity apply.
- Add a Bleed: If any part of your design touches the edge of the sign, you absolutely must add a bleed. This is just an extra margin of your design—usually 0.25 inches on all sides—that gets trimmed off. It’s there to make sure no ugly white edges show up after your sign is cut to its final size.
Actionable Insight: Before exporting your final print file, zoom in to 100% and proofread everything one last time. Check for typos, confirm your bleed is present, and ensure all images look sharp. This five-minute check can save you from a costly reprint. A common mistake we see is designing right to the edge of the artboard without a bleed. During the automated cutting process, even a tiny 1/16th of an inch shift can leave a glaring white sliver on one side of your sign.
Paying attention to these details is crucial no matter what you're printing on. For example, getting a great result from printable sticker paper for custom projects also demands careful artwork preparation. Following these guidelines will save you time, money, and a whole lot of frustration.
Finishing and Installation: The Final Steps That Make All the Difference
Getting a great print on a coroplast sheet is just the first half of the job. It's the finishing and installation that turn that printed board into a professional, durable sign that can actually do its job out in the real world. Think of these final steps as the difference between a sign that lasts a week and one that lasts for months.
The market for coroplast sheets tells you everything you need to know about its popularity—it was valued at around USD 1.29 billion in 2024. That’s a lot of businesses relying on this material, which makes getting the final details right more important than ever.

Should You Laminate Your Sign?
While the UV-cured inks we use are tough on their own, adding a layer of lamination is like putting a screen protector on your phone. You don't always need it, but when you do, you'll be glad it's there.
Lamination is a smart move if:
- Practical Example: A restaurant is creating an A-frame sign for their daily specials on a busy sidewalk. Lamination is a wise choice here to protect the sign from scuffs, scratches, and graffiti, ensuring it stays readable and professional.
- It's going to be baked in the sun. For signs in places with intense, direct sunlight, a UV-protective laminate can seriously slow down fading and keep your colors looking sharp.
For a quick "Open House" yard sign that will be up for a weekend? You can probably skip it. But for a construction site sign that needs to last six months or an outdoor menu board, it’s a small investment that pays off.
Cutting and Shaping: Beyond the Basic Rectangle
The way a sign is cut has a huge impact on how it’s perceived. A simple rectangle is clean and effective, but a custom shape can stop people in their tracks.
- Straight Cuts: This is your go-to for most projects. It’s clean, cost-effective, and perfect for standard yard signs, A-frame inserts, and any informational signage where the message is the hero.
- Die-Cutting: This is where you can get creative. A die-cut sign can be shaped like anything—a house for a real estate agent, a starburst for a sale, or even your company logo. It’s an instant way to make your sign memorable.
Actionable Insight: If you're designing a custom-shaped sign, avoid sharp points and thin, delicate sections. For example, instead of a star with needle-thin points, design one with slightly rounded or blunted tips. This small change dramatically increases the sign's durability and resistance to bending or breaking in the wind.
Smart Installation That Lasts
You can have the best-looking sign in the world, but if it’s installed poorly, it won't last. The right method comes down to where the sign is going and how long it needs to stay there.
The classic H-stake is the workhorse for yard signs. You just line up the prongs with the vertical flutes and push it into the ground. Simple and effective.
For anything more permanent, like mounting a sign to a fence or a wall, you'll want grommets. These little metal rings are punched into the corners and give you a reinforced hole to run zip ties or screws through. Without them, you risk the hardware tearing right through the plastic.
And before you put anything in the ground or on a building, it’s always a good idea to know the local rules. Check out our guide on sign permit requirements to make sure you're covered. It can save you a lot of headaches down the road.
Maintaining Your Signs and Troubleshooting Issues
https://www.youtube.com/embed/YVYanBoQy0g
Once your coroplast sign is out in the wild, a little bit of care goes a long way in keeping it looking crisp and professional. Think of it as protecting your investment—a clean, well-maintained sign keeps your message clear and effective for as long as possible.
The good news? Coroplast is built to be tough and weather-resistant, so you don’t need any fancy equipment or harsh chemicals to keep it looking great.
Simple Care for Long-Lasting Signs
Cleaning your sign is incredibly easy. Just grab a soft cloth or sponge with a bit of mild soap and water, then gently wipe away any dirt or grime. It’s absolutely critical to avoid using harsh chemical cleaners or anything abrasive. Scouring pads or strong solvents can scratch the surface or even damage the ink, killing the professional look you're going for.
Storage is just as important, especially if you plan on reusing your signs. Always lay them flat in a cool, dry place that's out of direct sunlight. If you lean them against a wall or stack them on their side for too long, they can start to warp and bend. Storing them flat ensures they’ll be perfectly straight and ready to go next time you need them.
A Guide to Fixing Common Printing Problems
Even the most carefully planned print job can run into a snag. Knowing what causes these issues is the first step to fixing them—and making sure they don’t happen again. From my experience, most problems trace back to one of two things: how the surface was prepped or a mistake in the digital artwork file.
Here's a quick rundown of the most common headaches we see when printing on coroplast and how to get things back on track.
Actionable Insight: Before committing to a big print run, always request a single proof or a small test print. It's the single best way to catch any potential issues with color accuracy, ink adhesion, or file setup before you've invested in the full order, saving significant time and money.
Common Coroplast Printing Issues and Solutions
This troubleshooting table is your cheat sheet for quickly diagnosing and fixing the usual suspects in coroplast printing.
| Problem | Likely Cause | Actionable Solution |
|---|---|---|
| Poor Ink Adhesion | The surface has contaminants like dust, oil, or a static charge that are stopping the ink from bonding properly. | Before printing, wipe the coroplast surface with a tack cloth and an isopropyl alcohol solution (70% alcohol, 30% water) to clean off any residue and cut down on static. |
| Color Mismatch | The artwork was probably designed in RGB color mode (for screens) instead of the CMYK mode that printers require. | Always convert your design files to the CMYK color profile before sending them to print. This gives you a much more accurate idea of how the final colors will look. |
| Blurry or Pixelated Print | The image resolution is too low for the sign's final size. This happens when you stretch a small image too far. | Make sure any raster images (like photos) are at least 150 DPI at their final print dimensions. For logos and text, stick with vector formats (AI, EPS, PDF) to keep them perfectly sharp at any scale. |
Catching these issues early is always the best approach. A few checks on the front end can prevent a lot of frustration later.
Common Questions About Printing on Coroplast
Even after covering the basics, a few practical questions always come up when you’re getting a coroplast project off the ground. Let's tackle some of the most common ones we hear from clients to clear up any lingering details.
Think of this as the quick-fire round—just straightforward answers to get your project moving in the right direction.
Can You Print on Both Sides of Coroplast
Absolutely. In fact, double-sided printing is one of the biggest reasons coroplast is so popular. It’s a smart way to double your visibility without doubling your costs, making it perfect for signs that need to catch traffic from all angles.
We see this all the time with real estate signs, directional signs for events, or A-frame inserts on a busy sidewalk. Just be sure to send your artwork as two separate files (or a multi-page PDF) clearly marked "Front" and "Back." It’s a small step that prevents big headaches in production.
How Long Will a Coroplast Sign Last Outdoors
This really comes down to where the sign lives. A standard 4mm sign will typically hold up for 6 months to 2 years outside before it starts looking tired. A sign blasted by direct sun all day or thrashed by high winds will fade and wear out faster than one in a sheltered spot.
Actionable Insight: To maximize lifespan, place your sign where it gets partial shade during the hottest part of the day. For example, positioning it on the east side of a building means it will be shaded from the intense afternoon sun, significantly reducing UV damage and fading over time.
For signs you reuse, like for an annual event, just bring them inside when they're not in use. It makes a huge difference. If you're looking for something with more staying power, our guide on different business outdoor signs near me explores some heavy-duty options.
Is Coroplast Waterproof and Weather Resistant
Yes, coroplast is 100% waterproof. The corrugated plastic sheets don't absorb a drop of moisture, which means rain, snow, and humidity won't make it fall apart, warp, or get soggy like a cardboard sign would.
The UV-cured inks we use are also incredibly resilient to moisture, so your graphics won’t smear or run, even in a downpour. This is exactly why it’s the go-to choice for temporary outdoor signs—it just works, rain or shine.
At On Display Signs, Inc., we take the guesswork out of creating high-quality, durable coroplast signs that get noticed. Whether you need a small batch for a local event or a large order for a national campaign, our team is here to manage the entire process, from design to delivery. Let us help you create signs that make a lasting impression. https://www.ondisplaysigns.com
