Warehouse floor marking guidelines aren't just about making your facility look organized. They create a silent, visual language on your floor, using specific colors and layouts to direct traffic, flag hazards, and define spaces. Think of it as the bedrock for better workplace safety, smoother operations, and staying on the right side of regulators like OSHA.
The Unspoken Language of a Safer Warehouse
Imagine a busy highway with no lane lines or a city intersection without traffic lights. The result would be total chaos and a recipe for disaster. A warehouse floor without clear markings is running on that same dangerous principle. Forklift drivers and pedestrians are left guessing where the safe zones are, inventory gets messy, and the whole workflow grinds to a halt.
Now, picture that same concrete slab with a smart system of bright, color-coded lines and symbols. It's no longer just a floor; it's a well-orchestrated environment that communicates clearly and constantly with every single person in the building. That’s the real power of a strategic floor marking plan. It’s an unspoken language that guides, warns, and protects everyone.
Building a Foundation of Safety and Order
Putting down some paint or tape is just the start. Effective floor marking is a fundamental pillar of a safe, productive workplace. When you establish these clear visual cues, you solve several critical problems at once:
- Segregate Traffic: You can create clearly defined walkways for pedestrians, keeping them safely separated from forklift and machinery routes to drastically cut down on collisions. For example, a solid yellow line on either side of a main thoroughfare creates a visual "safe lane" that tells employees exactly where to walk.
- Organize Inventory: By marking designated areas for raw materials, finished goods, and staging zones, you eliminate clutter and make managing inventory far more efficient. Practical action: Use white lines to create boxes on the floor labeled "INBOUND" or "QUALITY CHECK" to ensure pallets are placed correctly every time.
- Highlight Dangers: Marking off hazardous areas, electrical panels, and spaces that need to stay clear makes sure everyone is constantly aware of potential risks.
- Streamline Operations: Visual guides for workflows, where equipment should be stored, and emergency exits create a predictable and orderly environment where people can work confidently.
A well-marked floor turns confusion into clarity. When every employee knows instinctively where to walk, where to place equipment, and which areas to avoid, you build a culture of safety that runs on autopilot.
Adhering to Regulatory Standards
This visual system isn't just a good idea—it's backed by regulatory frameworks from bodies like the Occupational Safety and Health Administration (OSHA). These standards set out specific colors to ensure consistency from one facility to the next. For instance, yellow lines almost always mark aisles and traffic lanes, while diagonal black and yellow stripes indicate caution zones with physical hazards.
Following these established warehouse floor marking guidelines isn't just about checking a compliance box; it's about using a proven system to protect your team and improve your bottom line. But floor markings are just one piece of the puzzle. Reinforcing this visual language with clear signage is essential. You can explore a wide variety of custom warning signs to complement your floor strategy and lock in total facility safety.
Decoding the Official Color Palette for Your Floor
The colors you see on a warehouse floor aren’t just for decoration; they’re a universal language everyone in the building needs to understand. Think of it as a traffic light system built right into your facility, grounded in official OSHA and ANSI standards. Each color sends a clear, instant message to everyone—from the rookie hire to the veteran forklift driver—guiding their movements and keeping them safe.
Getting the "why" behind each color is the key to creating a floor marking strategy that actually works. When you nail the warehouse floor marking guidelines, you build a visual framework that cuts through the noise, reduces confusion, and stops accidents before they happen. It’s one of the simplest and most powerful ways to manage risk and workflow.
This infographic perfectly illustrates how a well-marked floor turns potential chaos into an orderly, safe environment.
You can see the clear jump from a messy, high-risk space to one where everyone knows exactly where to go and what to avoid. That transformation is all thanks to a clear floor marking plan.
The Core Colors of Warehouse Safety
While you might have some custom colors for your own internal processes, there’s a core group of colors with standardized meanings across every industry. Sticking to this official palette makes sure your safety system is compliant and, more importantly, instantly understood by everyone.
Here’s a quick reference table to keep the main color codes straight.
OSHA Standard Floor Marking Color Code Reference
| Color | Meaning and Designated Use Area | Practical Example |
|---|---|---|
| Yellow | Marks aisles, walkways, and traffic lanes to signal caution. | Use solid yellow lines to create a clear "safe lane" for pedestrians, separating them from forklift routes. |
| Red | Signals immediate danger, fire hazards, or emergency equipment. | Frame the area around a fire extinguisher with a red box to keep it visible and prevent it from being blocked. |
| White | Outlines internal operations, equipment, and storage zones. | Use white lines to mark off a quality control station or a designated spot for storing carts when they aren't in use. |
| Black/Yellow | Warns of physical hazards like tripping or low-hanging objects. | Apply striped tape where a low pipe crosses a walkway or near machinery with moving parts. |
| Red/White | Designates safety-sensitive areas that must be kept clear. | Mark the floor in front of an electrical panel or first aid station to ensure it's always accessible in an emergency. |
These core colors form the foundation of a visual language that keeps your facility safe and efficient.
Using Striped Colors for Heightened Awareness
Sometimes, a solid color just doesn’t cut it. When you need to signal a specific type of risk, striped patterns add another layer of visual information that grabs people's attention immediately.
Black and Yellow Stripes: For Physical Hazard Zones
This pattern is the universal sign for "watch your step." It warns people about physical risks where they could trip, fall, or bump into something. It’s a call for extra caution.
- Practical Use: Apply black and yellow striped tape on the floor around areas with uneven surfaces, low-hanging pipes, or machine parts that stick out into a walkway. This gives a clear visual cue to be alert.
Red and White Stripes: For Safety-Sensitive Keep Clear Zones
This combination marks areas that absolutely must be kept clear for safety, but aren't necessarily fire-related. Think of it as a "no-go" zone for storage, reserved for emergency access.
- Practical Use: Use red and white striped lines to block off the floor in front of an eyewash station or the main electrical panel. This ensures nothing ever gets stored there, blocking access when it’s needed most.
Properly marking these zones is a critical piece of your overall safety puzzle. It works hand-in-hand with other systems, and you can learn more about building a complete plan by reviewing emergency exit signage requirements.
By putting this color palette to work, you turn your warehouse floor from a blank slab of concrete into an intuitive guide that protects your team and streamlines your entire operation.
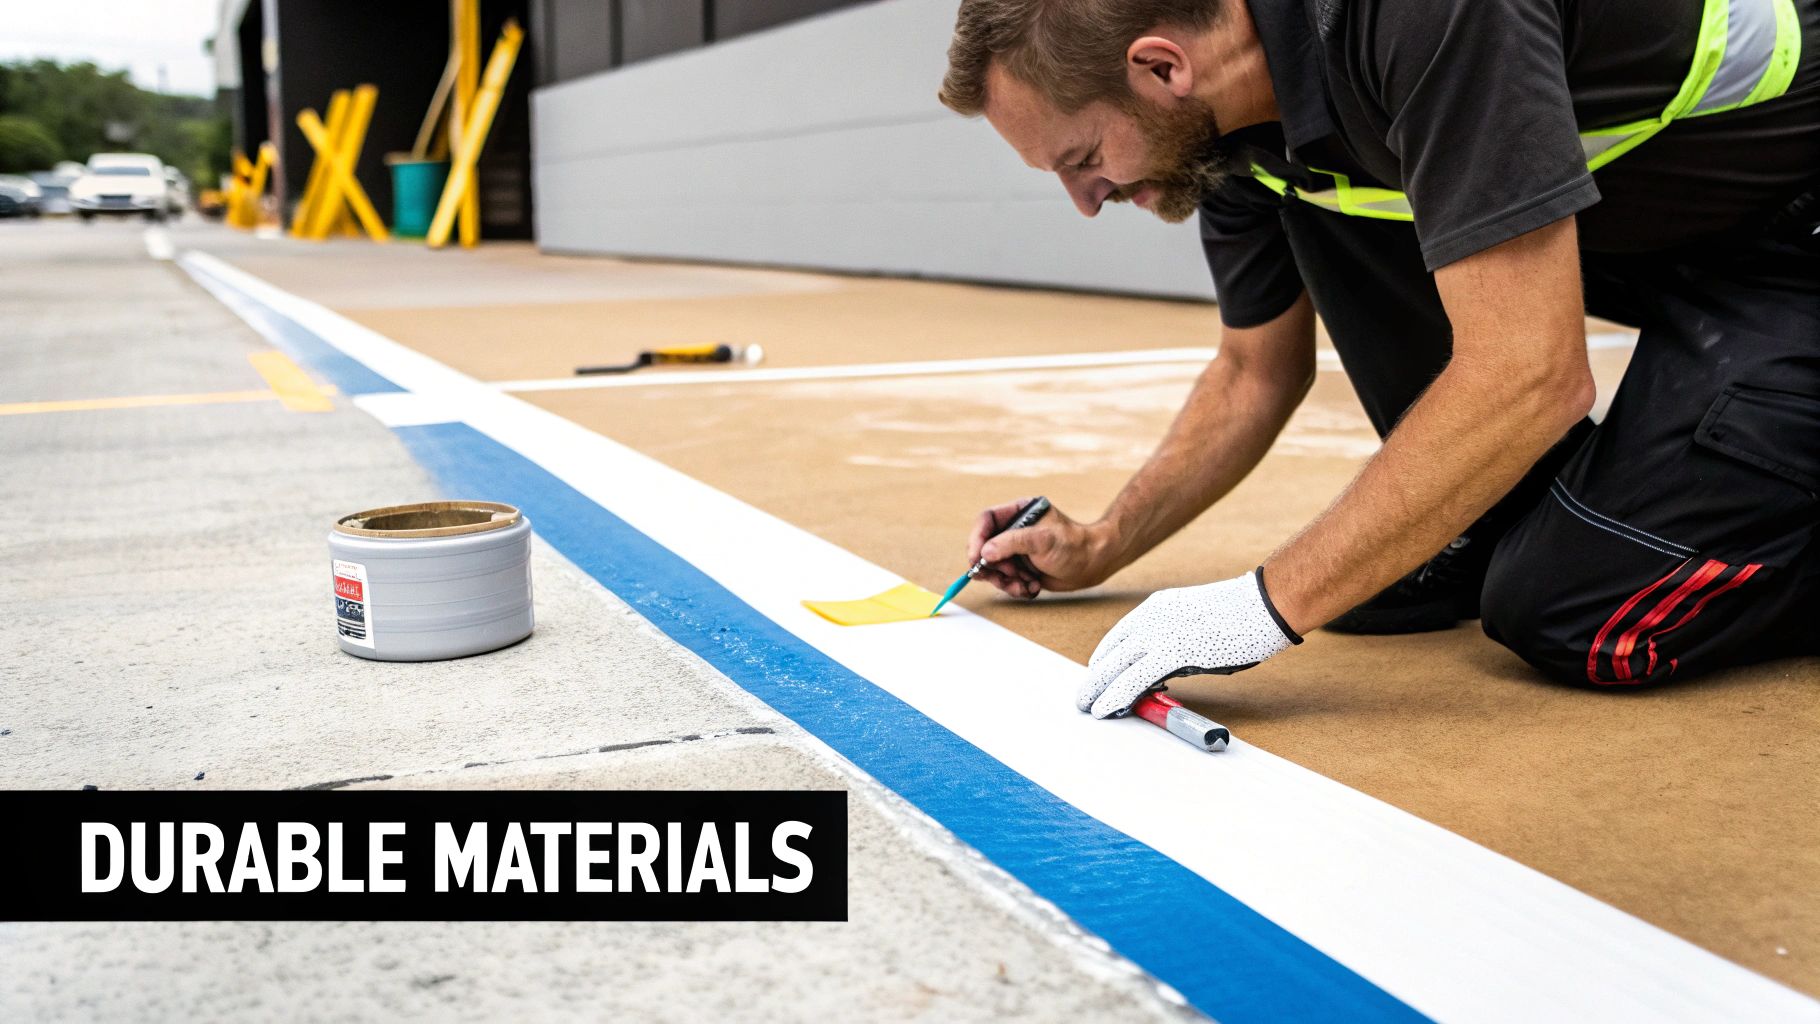
Choosing Materials That Withstand the Daily Grind
Your floor marking system is only as good as the materials holding it to the concrete. Even the most brilliant layout will fail in weeks if the lines peel, chip, or fade under the constant pressure of daily operations. Choosing the right material isn't just about looks—it's a critical financial and safety decision.
Get it wrong, and you're stuck in a frustrating cycle of constant re-application. That means more downtime, higher labor costs, and dangerous gaps in your safety system. The key is to match the material to the real-world challenges of your facility, whether that’s heavy forklift traffic or chemical exposure.
The Two Heavyweights of Floor Marking
When it comes to marking up a warehouse floor, the conversation almost always boils down to two options: industrial floor tape and epoxy paint. Think of them as two different tools in your toolbox—each is perfect for the right job, but a disaster for the wrong one.
- Industrial Floor Tape: This is the go-to for speed and flexibility. Modern floor tapes are a far cry from simple adhesive strips; they’re engineered with tough materials like heavy-duty PVC and aggressive adhesives built to resist abrasion, moisture, and chemicals.
- Epoxy Paint: This is the permanent solution. As a two-part system, epoxy doesn't just sit on the floor—it chemically bonds to the concrete, creating a hard, durable coating that’s practically part of the surface itself.
Understanding the fundamental differences between these two is the first step toward a cost-effective system that keeps your markings clear and compliant for years.
Industrial Floor Tape vs. Epoxy Paint
The choice between tape and paint comes down to your operational needs, your budget, and how often you expect your layout to change. A high-traffic aisle with polished concrete needs a different approach than a chemical storage area with a rougher surface.
Let's break down the head-to-head comparison.
| Feature | Industrial Floor Tape | Epoxy Paint |
|---|---|---|
| Installation | Fast and easy with minimal downtime. You can often run a forklift over it minutes after application. | A major project. It requires extensive surface prep, application time, and a 24-72 hour cure period where the area is completely out of commission. |
| Durability | Varies by thickness. Heavy-duty tapes hold up well against scrapes and forklift pivots but can start to peel at the edges over time. | Exceptionally durable. It resists abrasion, heavy traffic, and chemical spills once fully cured and is far less likely to chip than standard paint. |
| Flexibility | Excellent. You can pull up and reconfigure lines easily, making it perfect for facilities with evolving layouts or lean manufacturing goals. | Permanent. Changing lines means grinding the floor—a costly, labor-intensive, and dusty job. |
| Cost | Higher initial material cost per foot, but the low labor costs and zero downtime make it a strong contender for many situations. | The paint itself might be cheaper, but significant labor, prep, and downtime costs can easily make the total project more expensive. |
The key takeaway is this: Tape gives you speed and adaptability, while epoxy offers permanent resilience. Your choice should align with the long-term plan for that specific part of your facility.
Making the Right Choice for Your Environment
So, how does this play out in the real world? Let’s look at a couple of common scenarios.
Example 1: The Busy Loading Dock
A loading dock sees constant forklift traffic, pivoting wheels, and pallets being dragged across the floor. In this high-wear environment, a thick, heavy-duty PVC tape is often the smarter choice. You can apply it during a brief lull with no cure time, and if one section gets damaged, you can replace just that piece in minutes.
Example 2: The Chemical Storage Area
Now, picture a zone where chemical spills are a real possibility. Here, a two-part epoxy is the clear winner. Its chemical bond creates a non-porous surface that won't break down when exposed to harsh substances, ensuring your safety markings stay put and stay legible. The long-term durability is well worth the initial installation headache.
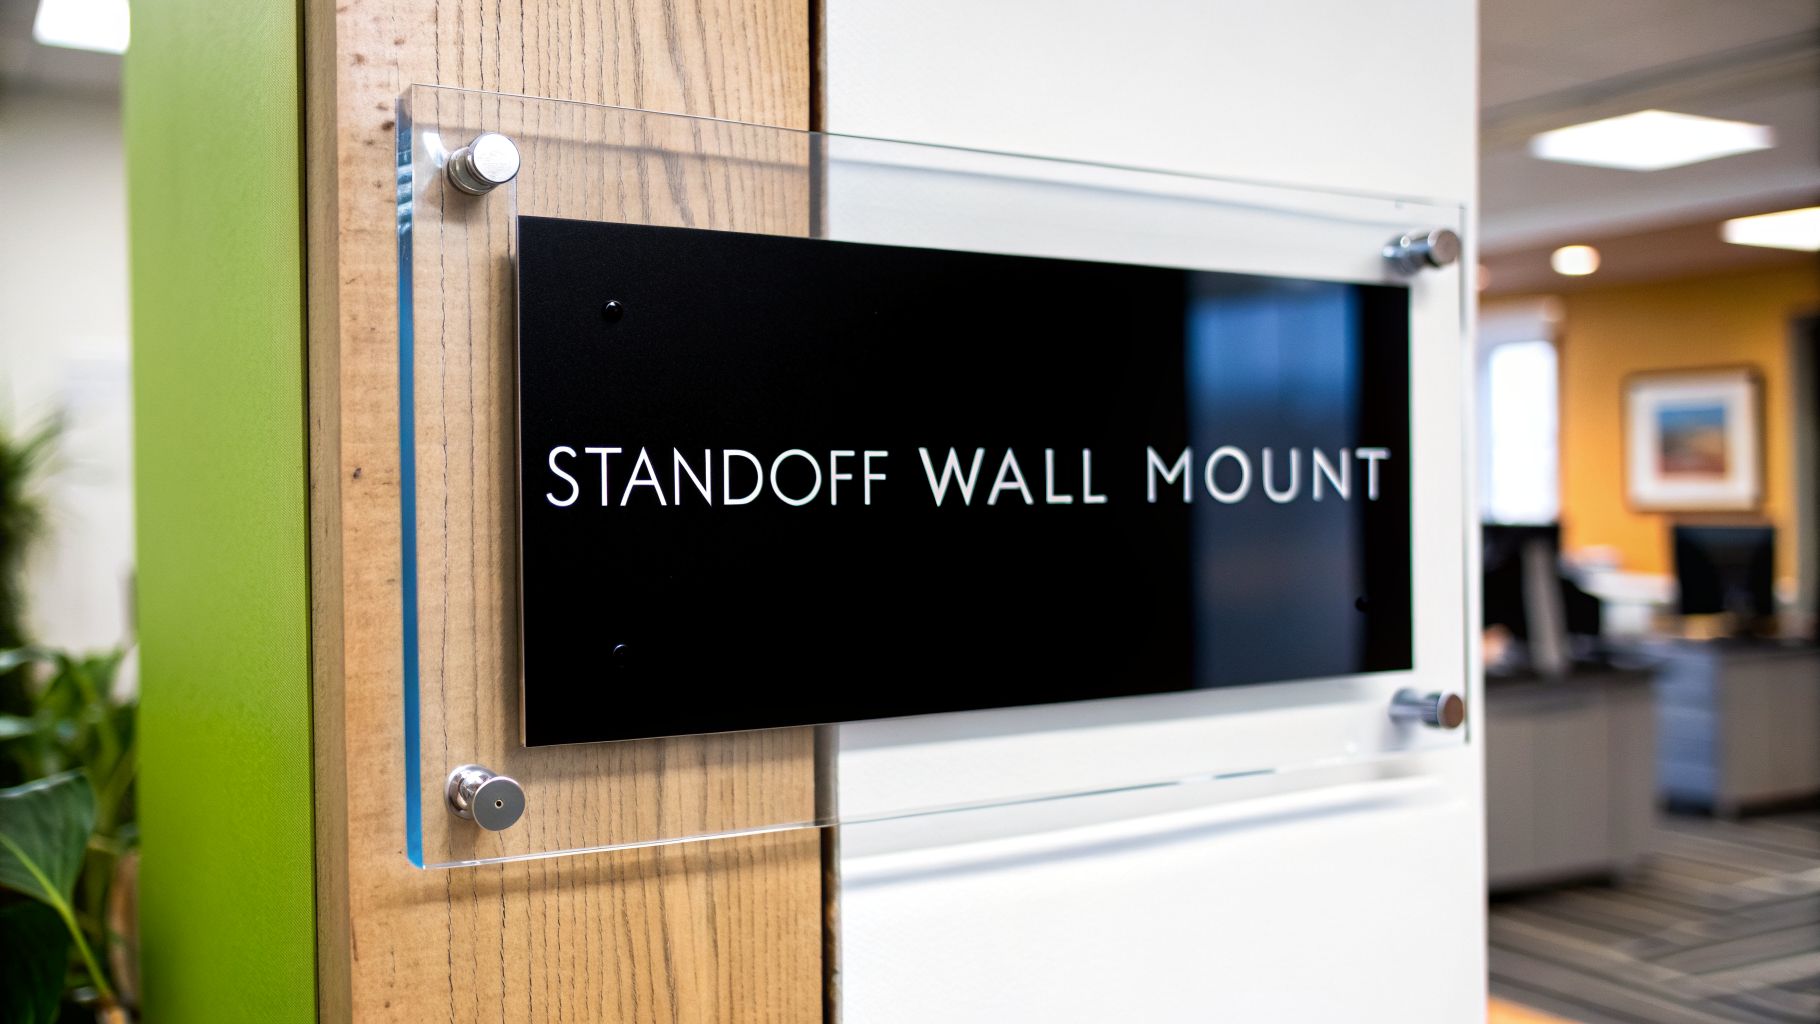
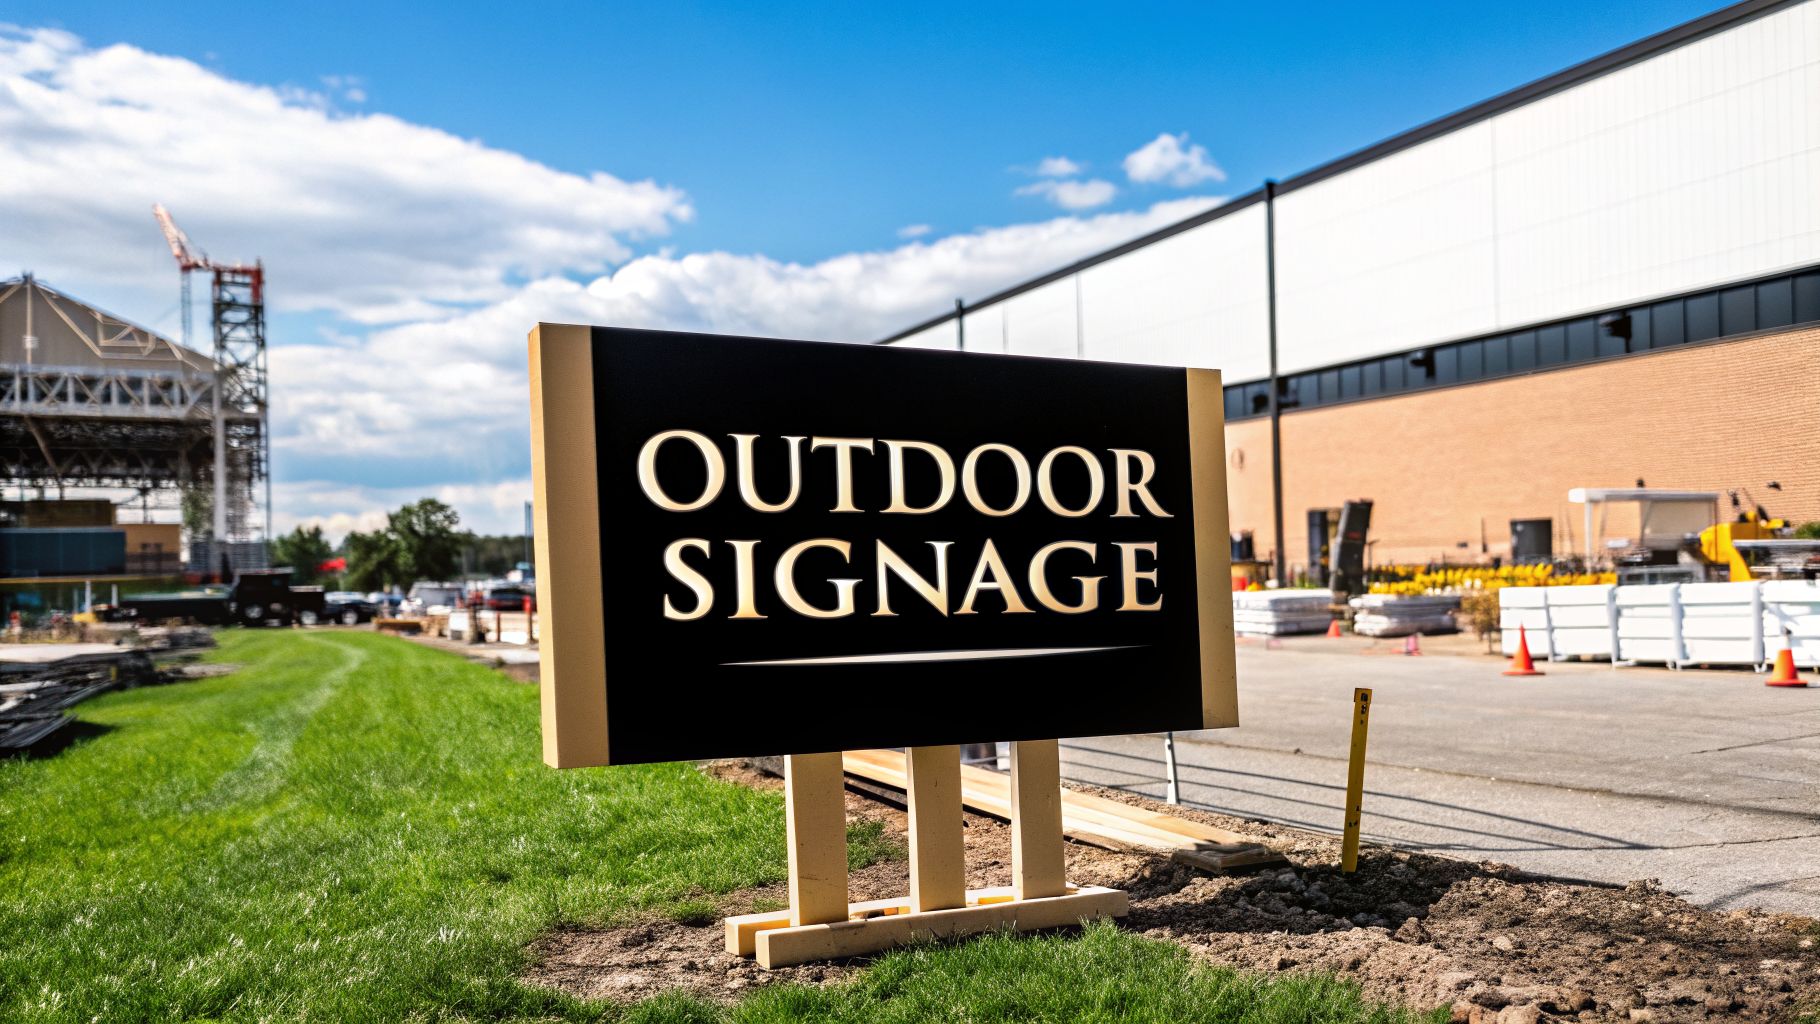
Ultimately, a strong safety system depends on more than just what’s on the floor. Pairing durable floor lines with clear, resilient signs creates a visual language that everyone understands. For high-impact areas, looking into options like aluminium composite signage ensures your vertical warnings are just as tough as the lines on the ground.
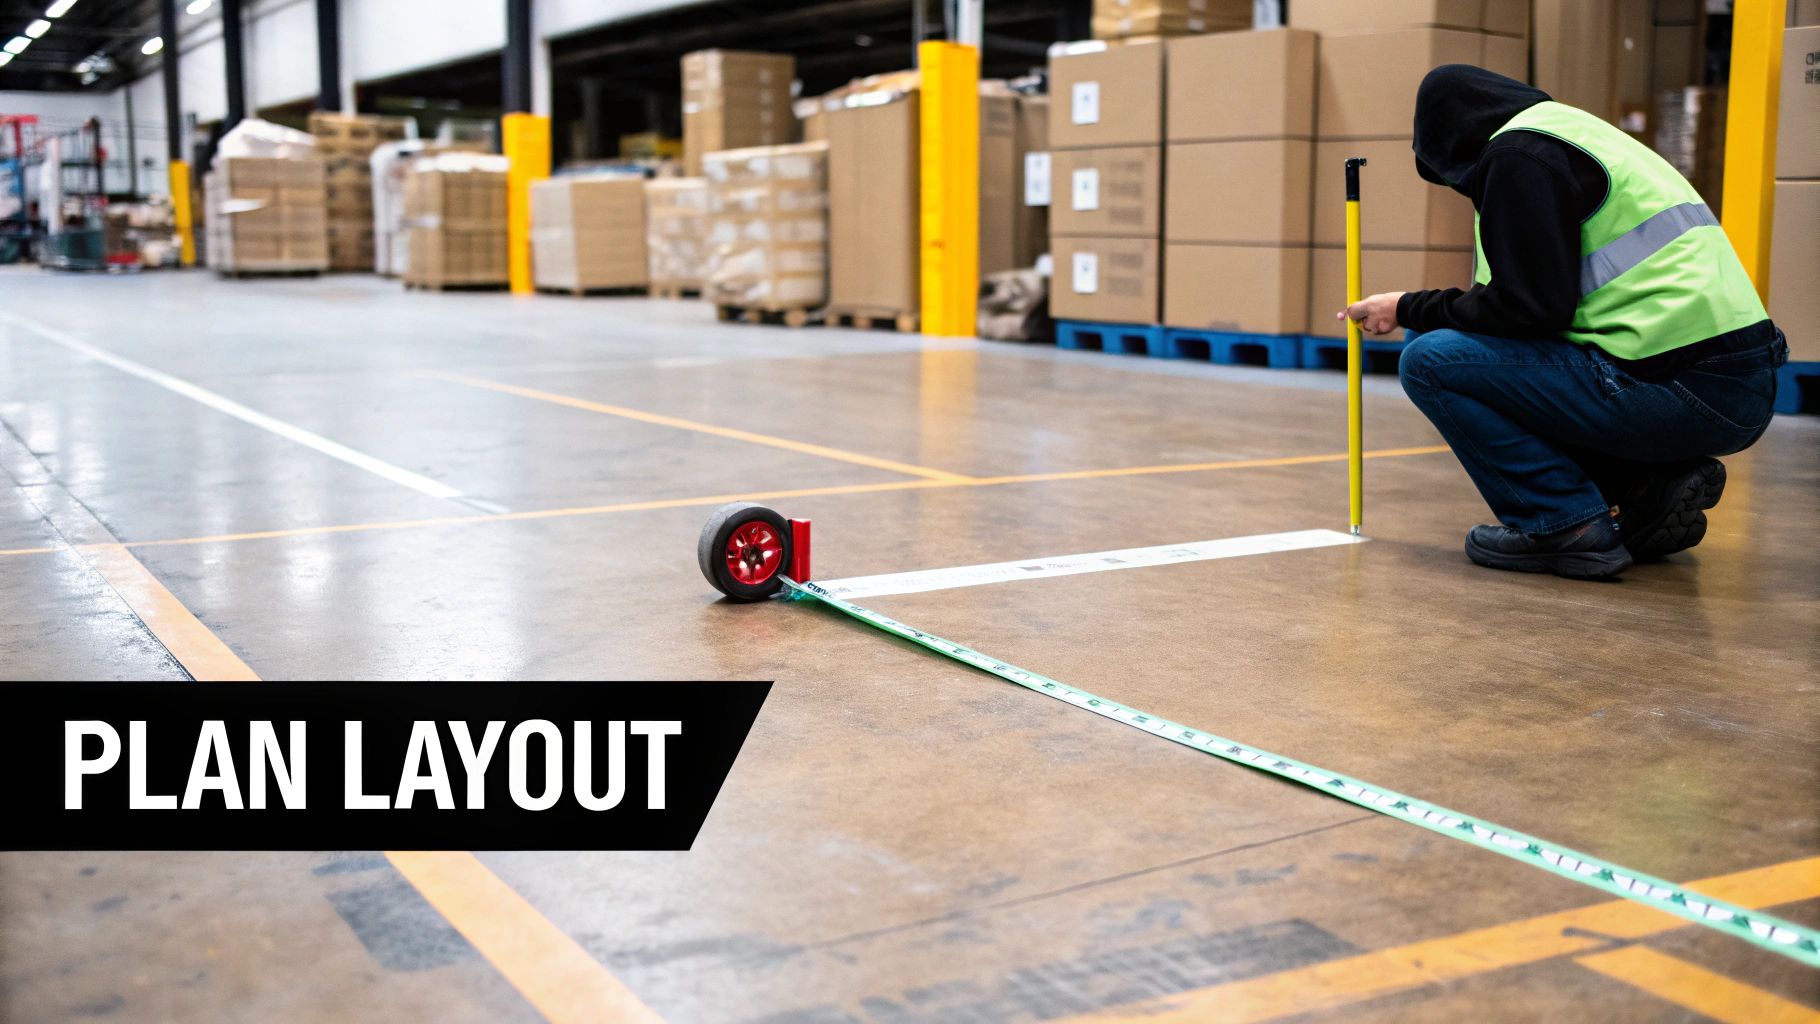
Planning Your Layout for Maximum Safety and Flow
Once you’ve got a handle on the right colors and materials, it’s time to move on to the practical side of things: mapping out a smart, effective layout. A great plan is about more than just putting down some lines. It’s about thinking strategically, turning your entire floor into a powerful tool that guides the movement of people and equipment safely and efficiently.
The best way to start is by picturing your warehouse as a small city, complete with its own roads and intersections. You need to create clear, intuitive pathways for everything, from forklifts hauling heavy pallets to employees walking to their workstations. When done right, floor markings are a key administrative control that helps manage risk by directing behavior—you can see some great hierarchy of control examples to understand how this fits into the bigger safety picture.
Determining Aisle Width for Optimal Flow
Getting your aisle width right is one of the most critical parts of the layout. If aisles are too narrow, you create bottlenecks, raise the odds of a collision, and slow down the whole operation. But if they're too wide, you're just wasting valuable storage space. It's all about finding that sweet spot.
OSHA gives a general guideline of at least four feet wide for aisles, but think of that as the bare minimum. When forklifts are involved, a good rule of thumb is to make the aisle at least three times the width of your widest vehicle.
- One-Way Traffic: Your aisle needs to be wide enough for the forklift plus an extra three feet of clearance on the side.
- Two-Way Traffic: For aisles where two forklifts might cross paths, you’ll need the combined width of both machines plus at least three feet of space down the middle.
The goal is to create a layout that feels open and fluid, not cramped and dangerous. A well-planned aisle system eliminates guesswork and allows for smooth, continuous movement, which directly boosts operational efficiency.
Surface Preparation: The Most Critical Step
You can buy the best tape or paint on the market, but if you stick it on a dirty, dusty floor, it's going to fail. Proper surface preparation is the single most important factor for making your floor markings last. A perfectly clean surface lets the adhesive or paint create a powerful bond that won't peel or chip away.
And this isn't about a quick sweep with a broom. This is a serious, multi-step process to get rid of anything that could get in the way of a solid stick.
- Deep Clean the Surface: First, sweep up all the loose dirt and debris. Then, go over it with an industrial degreaser to pull out any oil, grease, or grime that’s worked its way into the concrete.
- Rinse Thoroughly: After scrubbing, you have to rinse the floor completely. Any leftover cleaning residue will weaken the bond just as much as dirt will.
- Ensure the Floor is Bone Dry: This is a non-negotiable step. The floor absolutely must be 100% dry before you even think about applying markings. Use big fans or just give it enough time to air-dry completely.
Nailing the Application Process
With the floor prepped and ready, it all comes down to precision. Crooked lines or bubbles trapped under the tape don't just look sloppy—they create tripping hazards and cause the markings to fail much sooner. Taking your time here will pay off in the long run.
Warehouse floor marking has come a long way. Years ago, it was all done by hand with chalk and paint, a slow and often messy process. The invention of tools like the Straight Line 1000 floor marking machine completely changed the game, allowing for perfectly straight lines with a fraction of the effort. These innovations have saved companies countless hours in labor costs and maintenance downtime.
Keeping Your Floor Markings Clear and Compliant
Installing a floor marking system is a huge step forward, but the job isn't over once the tape is down or the paint is dry. Warehouse floors are tough environments. Constant foot traffic, heavy machinery, and spills all work against your carefully planned lines, wearing them down day by day.
This isn’t about adding another massive chore to your team’s list. Think of it as a simple, proactive maintenance routine. A little bit of upkeep prevents minor wear and tear from spiraling into a major safety hazard or a compliance headache down the road.
Proactive Inspections The Key to Longevity
The best way to manage your floor markings is to catch problems before they get out of hand. Faded lines, peeling tape, and chipped paint don’t just look sloppy—they muddy the clarity of your visual system and can even create new trip hazards. A simple, regular inspection schedule is your first line of defense.
Turn your entire team into the eyes of your safety program. While you might schedule a formal inspection every quarter, daily checks by floor staff can catch issues the moment they appear. High-traffic zones are obviously the most vulnerable and need the most attention.
Your inspection checklist should hit these critical areas:
- Aisle Intersections: These high-traffic spots see constant pivoting from forklifts, which grinds down markings fast.
- Loading Docks: The relentless movement of pallets and equipment puts immense stress on any lines you have here.
- Pedestrian Walkways: Check for fading where foot traffic is heaviest, especially near workstations and exits.
- Hazard Zones: Markings around hazardous areas—like those bold black and yellow stripes—have to stay bright and clear. No exceptions.
Smart Cleaning and Repair Techniques
Good maintenance saves you from the expensive and time-consuming job of a complete overhaul. The goal is to clean and repair your markings in a way that actually extends their life, not shortens it.
When cleaning, stay away from harsh chemical solvents that can eat through adhesives or degrade the paint. Most of the time, a simple pH-neutral cleaner is all you need to cut through the grime without damaging the markings. That one small detail can add months, or even years, to your system's lifespan.
A small tear doesn't mean you need a major fix. For a damaged section of floor tape, just cut out the worn piece with a utility knife and lay down a new, clean-cut section. This patch-and-go approach is way more efficient than re-taping an entire aisle.
A solid commercial-grade maintenance checklist is vital for making sure every part of your facility is contributing to a safer workplace. This includes keeping your floor marking maintenance consistent and effective. Just like signs need upkeep, so do the lines on your floor. For more on related compliance, check out our insights on sign permit requirements to ensure your entire visual safety system is up to code.
A Look at Global Warehouse Marking Standards
While OSHA sets the pace for warehouse floor marking in the United States, safety isn’t just a local concern—it's a global one. If your company operates across borders, you need a safety language that everyone understands, no matter where they are. These international standards all point to the same truth: clear visual communication is the bedrock of a safe workplace, everywhere.
The good news is that most global regulations are built on the same foundation as OSHA's guidelines. They lean heavily on consistent color-coding to flag risks and manage the flow of people and equipment. This alignment is critical. It means a forklift operator trained in one country can instantly recognize a hazard warning in another, creating an intuitive, worldwide language of safety right on the warehouse floor.
Understanding European Union Directives
The European Union, for example, has its own solid framework. Under Council Directive 92/58/EEC, European employers are required to use safety signs wherever risks can't be eliminated by other means. This absolutely includes floor markings, which must meet minimum standards across all EU member countries to ensure everyone gets the same level of protection. You can get a closer look at some of these specific European safety marking solutions.
This directive drives home a key point: floor markings aren't just helpful suggestions; they are legally mandated engineering controls. Ignoring them can lead to serious fines, but more importantly, it leaves your team exposed to accidents that were entirely preventable.
The real goal of any global standard is to kill ambiguity. Whether you're in Ohio or Germany, a red line must always mean danger, and a yellow line must always guide traffic. That predictability is what makes a space truly safe for everyone.
This universal approach proves that a well-marked facility is the foundation of a smooth, safe operation, regardless of its address. It’s all about protecting your people and your assets with a simple visual language that needs no translation.
Common Questions About Warehouse Floor Markings
Even with the best plan on paper, questions always pop up when it's time to put paint or tape on the floor. Getting these practical details right from the start is what separates a confusing system from one that makes the whole operation safer and smoother.
When every person on your team—from the forklift operator to the new hire—understands the rules of the road, the entire facility just works better. Let's clear up a few of the most common questions facility managers ask.
How Wide Should Aisle Lines Be?
While OSHA often suggests a width between two and four inches, the real goal is simple: make them impossible to miss. Your lines need to be obvious enough that a forklift driver can see them clearly without a second thought, even at the end of a long shift.
It's always smart to double-check local codes, but a four-inch line is pretty much the gold standard for traffic aisles. It’s substantial enough to grab your attention and create a clear visual barrier between vehicle and pedestrian zones, which is exactly what you want.
How Often Should Floor Markings Be Inspected?
Think of your markings like the tires on a car—they need constant attention to do their job safely. While you should schedule formal, documented inspections quarterly, the real work happens every day.
Empower your team on the floor to be your eyes and ears. Encourage them to immediately report any markings that are peeling, faded, or damaged. A small scuff today can turn into a missing line tomorrow.
Some spots will obviously take more abuse than others.
- High-Wear Zones: Keep a close eye on busy intersections, loading docks, and tight corners where forklifts pivot.
- Action Plan: These high-traffic areas are going to need the most frequent touch-ups to stay effective.
Fixing a small problem now is always cheaper and faster than re-taping an entire section later. This proactive approach keeps your visual safety system from failing when you need it most.
A faded line is a silent safety failure waiting to happen. It whispers that the rules are optional, creating a hazard that's easy to overlook until an accident occurs.
Can I Use My Own Colors For Marking Different Zones?
Absolutely, but there’s one non-negotiable rule. Your internal color system—say, for marking different inventory zones or quality control areas—must never contradict or cause confusion with standard OSHA safety colors.
Markings for hazards, emergency equipment, and traffic flow have to follow the universal code. For example, if you decide to use purple tape to mark a quarantine area for damaged goods, make sure it's nowhere near the red lines designating fire extinguishers. The hierarchy is clear: safety colors always win.
A well-planned floor marking strategy is the foundation of a safe, efficient warehouse. At On Display Signs, Inc., we create durable, compliant safety signage that supports your daily operations. From ADA signs to custom warnings, we have the visual tools you need to build a safer work environment. Visit us at https://www.ondisplaysigns.com to see how our signage solutions can improve your facility.


