A standoff wall mount is the secret sauce behind that sleek, three-dimensional "floating" look you see on high-end signs. It's a small piece of hardware that pushes a sign panel away from the wall, giving it a stylish and professional presence that flat-mounted signs just can't match.
The Power of a Floating Sign Display
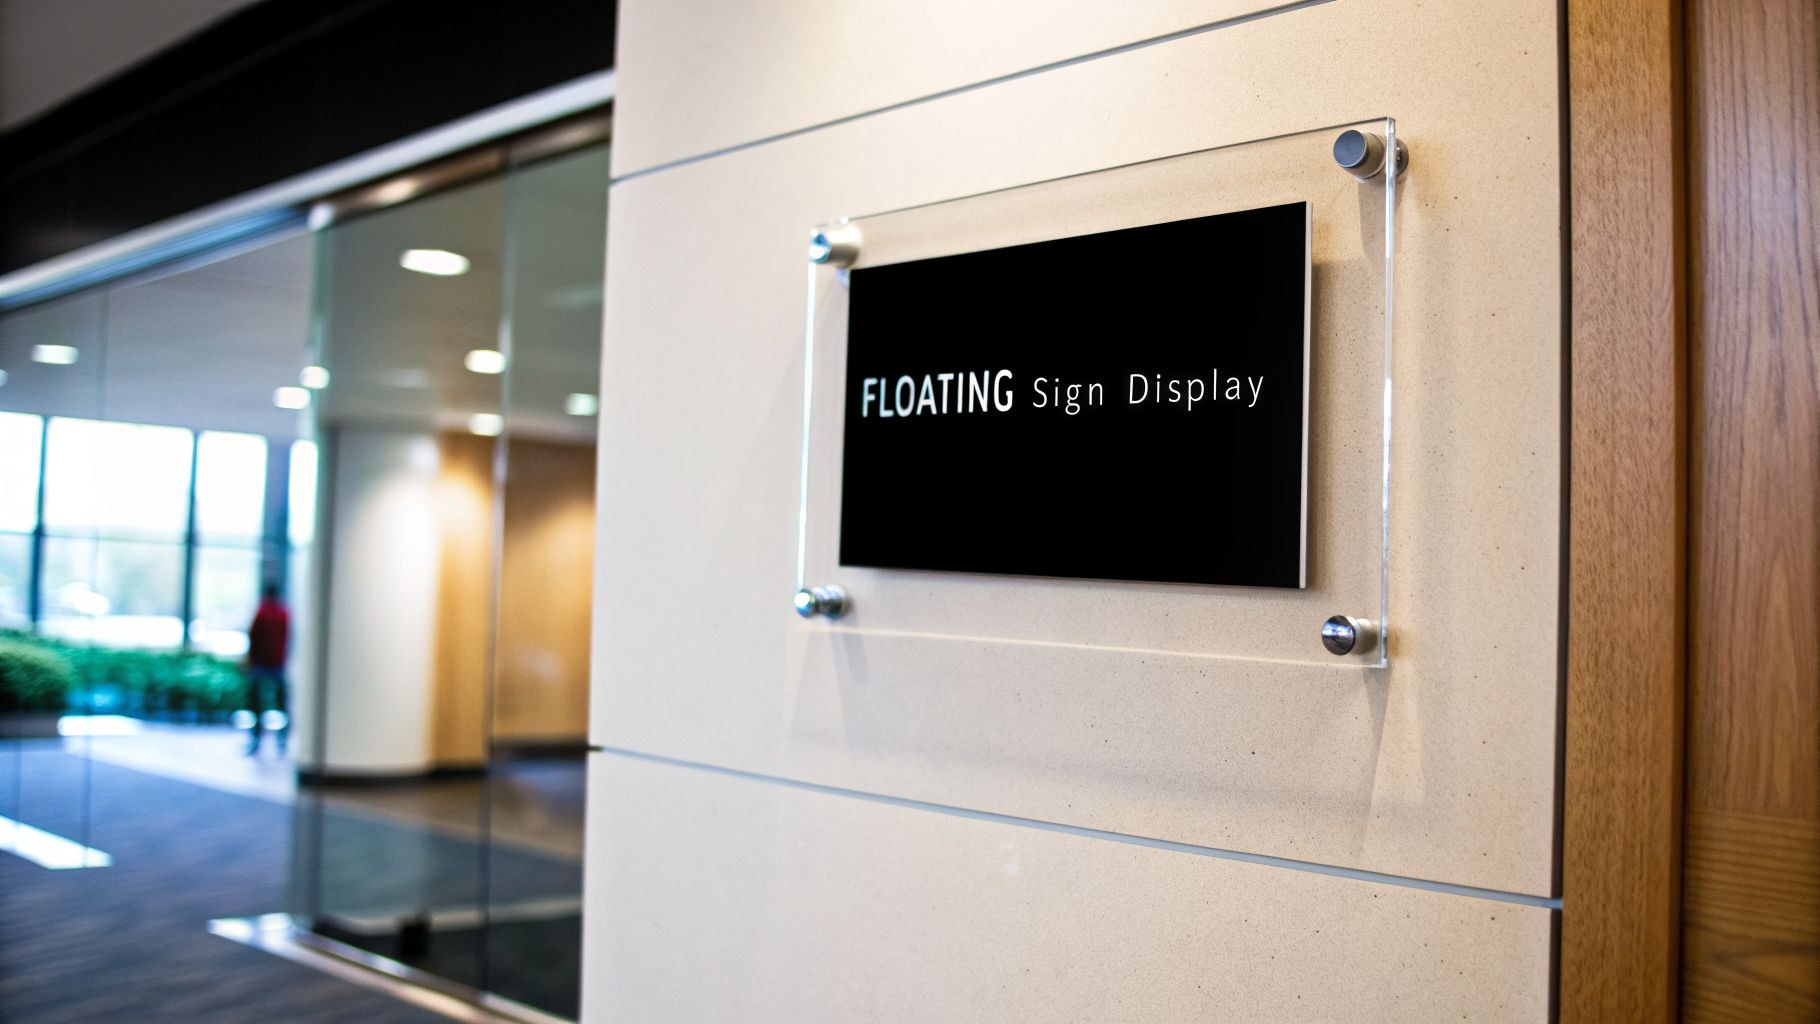
Imagine walking into a corporate lobby. The company logo isn't just stuck flat on the wall. Instead, it seems to float in mid-air, casting a subtle shadow that gives it real depth and draws your eye. This sophisticated look comes from a simple but brilliant system: the standoff wall mount.
Think of it like the stands used to elevate a priceless artifact in a museum. It gives the object prominence and signals its importance. This is exactly what it does for your brand.
This mounting method is the top choice for businesses that want their signage to scream quality, precision, and modern design. It instantly elevates how customers see your brand, turning a simple sign into a deliberate design feature. The numbers back this up, with the acrylic wall sign standoff market projected to hit $1.45 billion by 2030 as more businesses demand high-impact displays.
How a Standoff Wall Mount Works
The real beauty of a standoff system is its clever simplicity. A complete standoff mount uses just a few parts that work together to securely float your sign panel. While you can explore all kinds of general purpose wall mounting brackets, the standoff system is designed specifically for this clean, professional look.
Here’s what’s in the box:
- The Barrel: This is the hollow, cylindrical body of the standoff. Its length is what determines how far your sign "floats" off the wall, creating that signature gap.
- The Cap: This piece screws into the front of the barrel, sandwiching the sign panel and holding it firmly in place. The cap is what you see, so it often has a stylish finish like brushed metal or polished chrome.
- The Mounting Screw: This is the workhorse. A screw goes through the back of the barrel and anchors it directly to the wall, creating a rock-solid foundation for the entire display.
Actionable Insight: The real magic of a standoff mount is the shadow effect it creates. This negative space behind the panel makes signage "pop," adding a layer of visual interest that a flat-mounted sign simply cannot achieve.
This straightforward mechanical system is incredibly versatile, used for everything from small room number signs to massive acrylic standoff signs in a lobby. Once you understand these basic parts, you can see how this simple hardware can completely transform your business's visual identity.
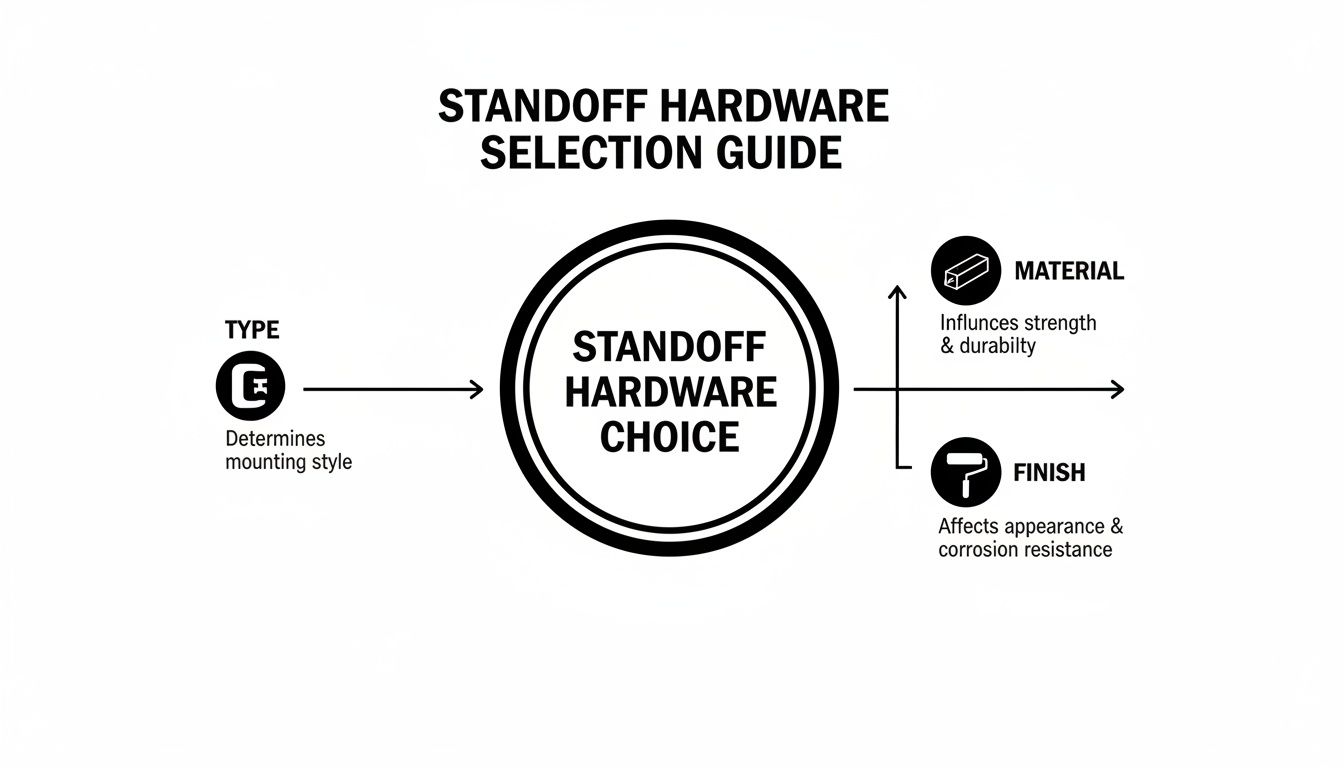
How to Select the Right Standoff Hardware
Choosing the right standoff hardware is like picking the perfect frame for a masterpiece. Get it right, and you elevate the entire piece. Get it wrong, and you can cheapen the look or, worse, risk your sign falling off the wall. This small detail has a huge impact on both the structural security of your sign and its final aesthetic.
This decision goes way beyond just picking a color. You need to think about the type of mount, the material it’s made from, its finish, and its dimensions. Each piece plays a part in making your sign look professional, secure, and perfectly in sync with your brand.
Through-Hole vs. Edge-Grip Standoffs
The first big decision is how the hardware will actually connect to your sign panel. There are two main approaches, and the one you choose depends on the look you want and the sign you’re hanging.
A through-hole standoff is the workhorse of the sign world. It’s the most common and robust option. We drill holes straight through your sign panel, and the standoff barrel passes through, secured by a decorative cap on the front. This creates a powerful "sandwich" grip that isn't going anywhere.
- Best for: Heavy materials like thick glass, metal, or large acrylic panels.
- Benefit: This is the gold standard for strength and security, making it our go-to for most commercial signage.
- Practical Example: That big, impressive 4-foot by 8-foot acrylic logo in a corporate lobby? It’s almost certainly held up by through-hole standoffs to keep it perfectly level and secure for years.
On the other hand, an edge-grip standoff offers a completely different, sleeker look. It clamps onto the sides of the sign panel, using small set screws to hold it tight without drilling any holes. The result is a clean, uninterrupted sign face.
- Best for: Lighter materials, smaller signs, or any time you absolutely cannot have holes in the sign face.
- Benefit: It delivers a minimalist, modern aesthetic that’s perfect for art prints or frameless office directories.
- Practical Example: A small glass nameplate outside an executive’s office is a perfect candidate for edge-grip standoffs. The look is pure class and doesn't distract from the name itself.
Matching Materials and Finishes to Your Brand
The material and finish of your standoffs are where you can really dial in the details to match your brand. Think of it as choosing the right hardware for your kitchen cabinets—it needs to complement the overall style.
A traditional law firm might lean toward the classic look of brass, while a cutting-edge tech startup would probably prefer the clean lines of aluminum or stainless steel. But it's not just about aesthetics; durability is a huge factor.
Actionable Insight: The material you choose isn't just about looks; it's about longevity. A standoff wall mount intended for an outdoor entrance must be able to withstand rain and temperature changes, making rust-resistant materials essential.
Here’s a quick breakdown to help you match the right material and finish to your space and brand identity.
Standoff Material and Finish Comparison
| Material | Key Benefits | Best For | Popular Finishes |
|---|---|---|---|
| Stainless Steel | Extremely durable, strong, and corrosion-resistant. | Outdoor signs, high-traffic areas, and heavy-duty applications. | Brushed Satin, Polished Chrome |
| Aluminum | Lightweight, versatile, and cost-effective. | Indoor signs, directories, and retail displays. | Matte Black, Anodized Silver, Gold |
| Brass | Classic and elegant appearance. | Upscale environments like law firms, banks, or hotels. | Polished Brass, Antique Bronze |
Each finish adds its own personality. A brushed satin finish has a soft, modern texture that’s great at hiding fingerprints. Polished chrome delivers a bright, mirror-like shine for a high-end feel. And matte black is incredibly popular right now, offering a bold, contemporary look that makes colors and graphics pop.
Choosing the Right Size Standoff
Finally, let’s talk about proportion. The size of the standoff—its diameter and length—has to feel right for the size of your sign. One of the most common mistakes we see is hardware that's comically large or invisibly small, throwing off the whole display.
- Diameter: This is the width of the standoff cap. For smaller signs like an 8"x10" nameplate, a 1/2" to 3/4" diameter is plenty. For those bigger lobby signs, you’ll want a beefier 1" or 1.5" diameter to provide the right visual weight and strength.
- Length (Projection): This is how far the sign "floats" off the wall. A 3/4" or 1" projection is the sweet spot for most projects, like clear acrylic signage, creating a beautiful shadow effect without sticking out too far.
The goal is to choose hardware that supports the sign without stealing the show. The standoffs should be a quiet, complementary detail, not the main event. By getting the type, material, finish, and size right, you’ll have the perfect hardware to make your sign look incredible.
Understanding Load Capacity and Proper Spacing
Making sure your new sign stays securely on the wall is about more than just picking a stylish standoff. It comes down to the physics of the installation—understanding load capacity and proper spacing. Getting this wrong is a recipe for a sagging sign, or worse, a total mounting failure.
Think of the entire system as a chain: the standoffs, the anchors, and the wall itself. That chain is only as strong as its weakest link. A heavy-duty standoff won't do you any good if the drywall anchor can't hold it, and a strong anchor is useless if the wall material itself crumbles under the weight.
Calculating the Right Support
First things first, you need to know the total weight your standoffs will have to carry. This isn't just the sign panel; it includes the hardware, too. The weight of your sign material is the biggest factor in figuring out how many mounting points you'll need for a secure, professional look.
Let's look at a couple of real-world examples:
- Large Acrylic Sign: A big 4-foot by 8-foot panel of 1/2-inch thick acrylic weighs in at around 80 pounds. To support that weight safely and keep it from bowing, you’re looking at six, maybe eight standoffs.
- Small Glass Directory: In contrast, a small 12-inch by 18-inch tempered glass directory at 1/4-inch thickness weighs only about 7 pounds. Four standoffs, one in each corner, will be plenty.
This decision-making process involves balancing strength, environment, and aesthetics to find the perfect hardware for the job.
This growing focus on rock-solid mounting isn't just a trend; it's a reflection of higher standards across the board. The market for industrial standoffs and spacers is actually projected to grow from $3.698 billion in 2026 to $6.143 billion by 2035, which shows just how critical these components have become.
Essential Rules for Standoff Spacing
Proper spacing is just as important as the load capacity of the hardware. If you place them incorrectly, the sign panel can start to warp, bow, or sag over time, completely ruining the clean, professional look you paid for.
Actionable Insight: The whole point of spacing is to distribute the sign’s weight evenly across every mounting point. This prevents stress on any single standoff and guarantees the panel stays perfectly flat.
Follow these two fundamental rules for spacing, and you can’t go wrong:
- Distance from the Edge: Always place your standoffs about 2 to 3 inches in from the edge of the sign panel. Drilling too close to the edge is asking for trouble, as it can easily crack or chip materials like acrylic and glass.
- Maximum Distance Between Standoffs: As a rule of thumb, don't go more than 24 to 36 inches between any two standoffs. For heavier or more flexible materials, you’ll want to shrink that distance to prevent any sagging in the middle.
By balancing the number of standoffs with their placement, you're building a stable framework that will support your sign for years to come. This is especially vital when choosing the best material for outdoor signs, since they have to deal with extra stress from the elements. A smart mounting plan is the best insurance policy for a long-lasting sign.
How to Anchor Standoffs to Different Wall Surfaces
Think of a standoff wall mount like a chain—it's only as strong as its weakest link. In this case, that link is the connection to the wall. Using the wrong anchor is like building a house on a shaky foundation; it's a failure just waiting to happen.
The wall material itself, what we call the substrate, dictates the entire installation strategy. This isn't a one-size-fits-all job. The hardware that works perfectly for standard drywall will be completely useless on a solid concrete block wall. Getting this right is the difference between a secure, professional sign and a costly disaster.
Mounting on Drywall
Standard drywall is everywhere in commercial interiors, but it's also the weakest surface you'll encounter. On its own, gypsum board has very little holding power. The absolute best practice is to anchor your standoff mount directly into a wood or metal stud hiding behind the drywall.
Think of studs as the skeleton of the wall—they provide the solid structure needed to support any real weight. A good stud finder is an installer's best friend here. When you drive a screw into a stud, you create a connection that will hold for years.
But what happens when the perfect spot for your sign doesn't line up with a stud? In that case, you absolutely must use a heavy-duty hollow-wall anchor.
Actionable Insight: Never screw a standoff directly into drywall without an anchor. The sign's weight will eventually rip the screw right out, sending your sign crashing to the floor and leaving you with a damaged wall.
For hollow-wall jobs, these are the go-to options:
- Toggle Bolts: These are the workhorses for hanging heavy items. Their metal "wings" flip open behind the drywall, spreading the load across a much larger surface area.
- Molly Bolts: These create a strong, permanent threaded hole in the wall. They're great if you think you might need to remove and reinstall the sign down the road.
Anchoring into Concrete and Brick
Concrete and masonry walls are incredibly strong, but they demand a completely different approach. Trying to use a standard drill and screws will get you nowhere fast. For these tough surfaces, a hammer drill is non-negotiable. It combines rotation with a rapid hammering action to pulverize the material as it drills.
Once you have a clean hole, you need an anchor built specifically for masonry. The most reliable choices are:
- Concrete Screws (like Tapcon): These are clever self-threading screws that cut their own threads into a pilot hole in concrete, brick, or block. They offer fantastic holding power and are pretty straightforward to install.
- Sleeve or Wedge Anchors: When you're mounting something extremely heavy, these are the answer. As you tighten the bolt, a sleeve expands against the inside of the hole, creating an unbelievably strong mechanical bond.
For any business installing large exterior signs or heavy interior pieces on structural walls, mastering these techniques is everything. Our team handles these kinds of jobs all the time, and you can see more about our process for a secure commercial sign installation on any surface.
Handling Delicate Surfaces Like Tile and Glass
Mounting a standoff on a fragile surface like ceramic tile or a glass partition requires a steady hand, a lot of patience, and exactly the right tools. The biggest risk is cracking the material, which instantly turns a simple job into an expensive repair.
The secret to success is using a specialized drill bit. For tile, you need a carbide-tipped or diamond-tipped bit. For glass, only a diamond-tipped bit will do the job without causing a fracture. The key is to start slowly and use light, consistent pressure—pushing too hard is the fastest way to hear that dreaded cracking sound.
Here’s a great pro tip: place a piece of painter's tape over the spot you plan to drill. This little trick keeps the drill bit from "walking" or slipping on the slick surface, ensuring your hole is drilled exactly where you want it. After that, your anchoring method will depend on what's behind that delicate surface.
Putting Standoffs to Work: Design Inspiration for Your Business
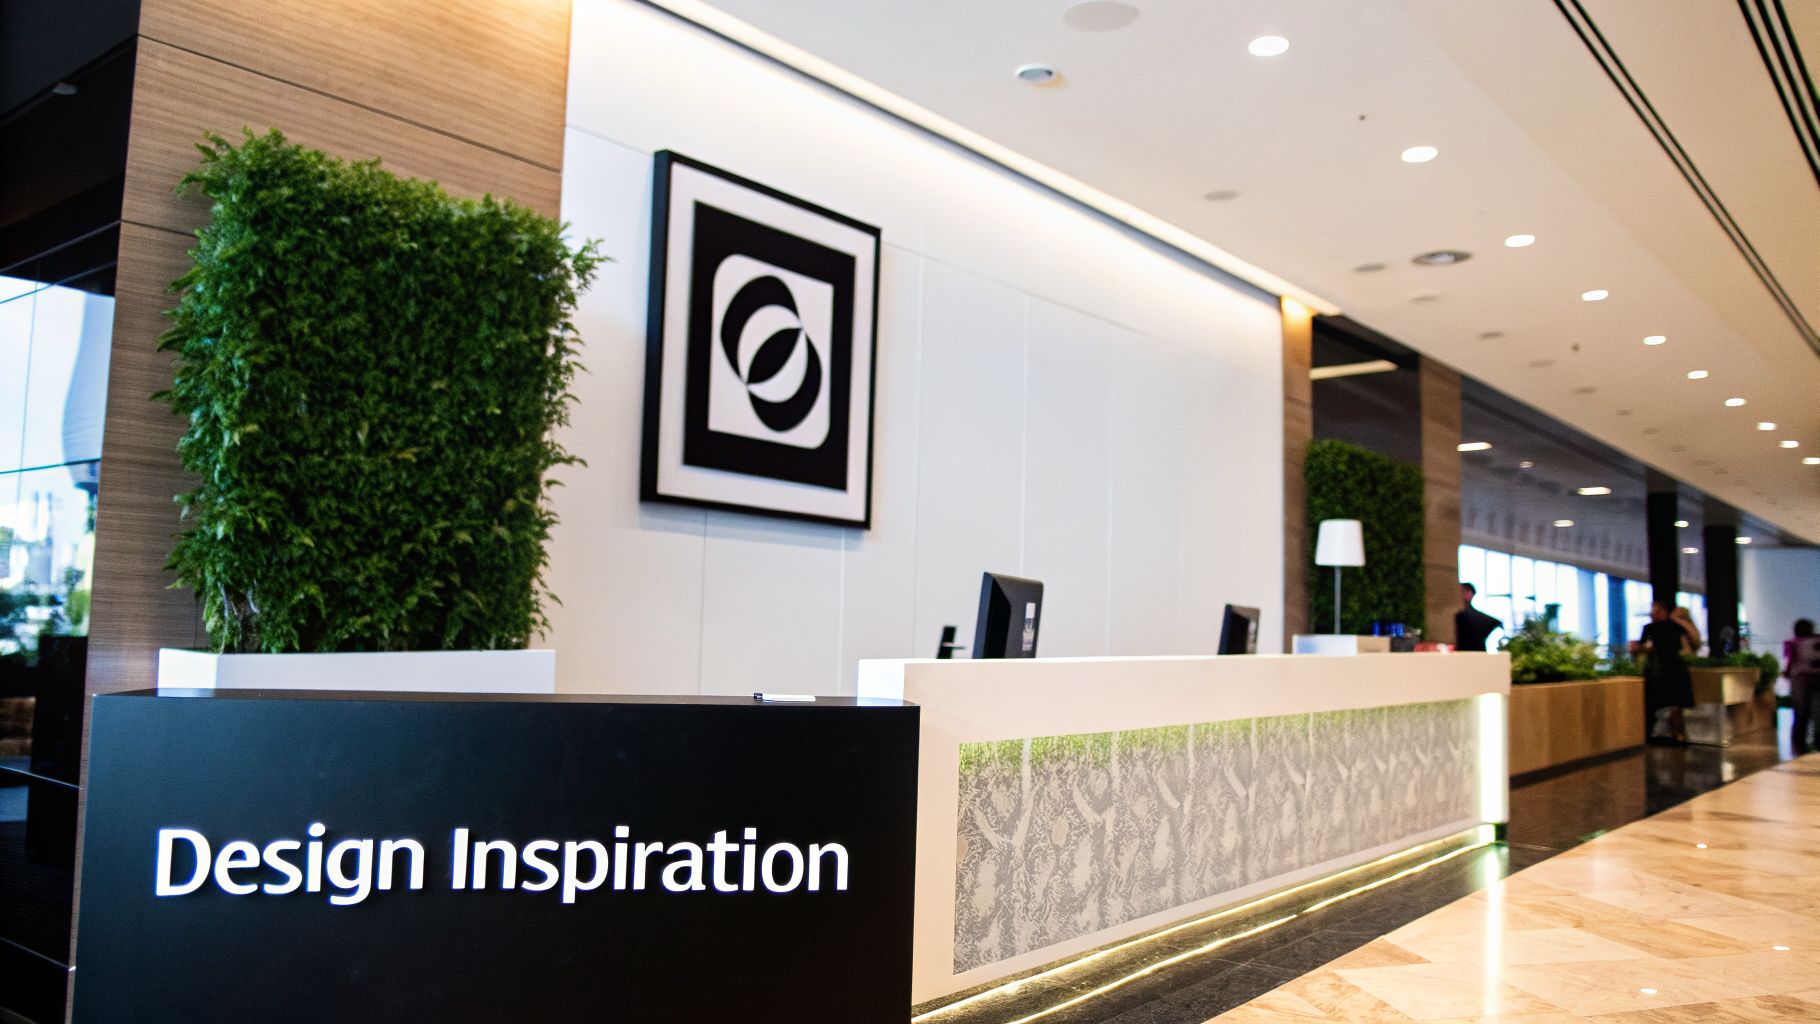
Getting the technical details right is half the battle, but the real magic of a standoff mount is how it transforms a space. Think of standoffs not as mere fasteners, but as a key part of your brand's story. They physically lift your sign off the wall, giving it presence and turning a flat graphic into a dimensional statement.
These little pieces of hardware punch well above their weight. A well-chosen standoff can turn a simple logo into a striking focal point, guide visitors without shouting, and build a powerful atmosphere of quality before anyone says a word.
The Polished Corporate Lobby
Picture a client walking into your headquarters. The first thing they see is the company logo, floating just off the wall on sleek stainless steel standoffs. The polished chrome finish catches the light, creating a clean, modern, and professional first impression that speaks volumes.
This isn't just a sign; it's a statement of confidence. The subtle shadow the standoff creates gives the logo a sense of weight and permanence. It immediately signals to visitors that they’ve entered a business that sweats the details.
The Minimalist Boutique Experience
Now, let's step into a high-end retail boutique. The goal here is different—the branding is chic, subtle, and part of the overall aesthetic. The shop might use thin, matte black standoffs to mount its signage on clean, white walls.
Here, the hardware doesn’t compete for attention. Instead, it quietly complements the store's modern, uncluttered vibe. This choice reinforces the brand’s identity as sophisticated and design-forward, where every single element feels intentional.
We're seeing this trend everywhere. The global market for display mounts like those for TVs, for example, jumped from $2,642.27 million in 2021 to an estimated $3,020.37 million by 2025. It's clear that designers and business owners are recognizing the value of using wall space for more than just paint.
Creative and Functional Applications
Standoffs are workhorses that go far beyond basic logos and directories. Their real strength lies in their versatility.
Layered Multi-Panel Displays: A modern restaurant could create a stunning feature wall by layering printed acrylic panels at different depths. By using standoffs of varying lengths, you can build a dynamic display that tells a story or showcases menu items.
Stylish and Compliant Signage: Let's be honest, ADA-compliant signs for restrooms or offices can be pretty bland. Using small, elegant standoffs adds a touch of class to these essential signs, proving that function and style can absolutely go hand-in-hand.
Beyond traditional business signage, standoff mounts are also ideal for elevating the aesthetic of mirrors and specialty glass styles, adding a modern, floating dimension to any space.
From a law firm using classic brass standoffs to project an air of tradition to a tech startup opting for industrial gunmetal finishes, the right standoff tells your brand’s story before you even say hello.
Your Checklist for a Perfect Standoff Installation
A perfect standoff installation doesn’t start when the drill comes out. It begins with a solid plan. Think of it like a blueprint—getting the core details right on paper first is what guarantees a flawless final product and avoids any nasty surprises on installation day.
Answering a few simple questions upfront turns a vague idea into a concrete project, saving you time, money, and headaches down the road.
Key Project Questions to Answer
Before you even think about making a call, work through these essential points. Having this information ready will make your conversation with a sign professional incredibly focused and productive.
- What are my sign's material, size, and weight? Is it a light 1/8-inch acrylic panel or a heavy 1/2-inch slab of tempered glass? This is the most critical factor, dictating the type, strength, and number of standoffs you'll need.
- What kind of wall am I mounting to? Are we talking about standard drywall with wood or metal studs, solid concrete, brick, or a tricky surface like glass or tile? The wall surface determines the exact anchors and mounting method needed for a secure, lasting installation.
- What’s the look I’m going for? Do you want a sleek, modern vibe with polished chrome? An industrial feel with matte black? Or a touch of classic elegance with brass? Your standoff hardware is a design element that should reinforce your brand's style.
- What's my budget for this? Knowing your budget helps narrow the field. A pro can then recommend the best materials and finishes to hit your aesthetic goals without breaking the bank.
With these details sorted out, you're no longer just "ordering a sign." You're commissioning a custom architectural feature for your space, ensuring the end result is secure, intentional, and a perfect match for your brand.
Partnering with an Expert for a Flawless Finish
Once you have your answers, the next step is to hand that blueprint to a professional. This is where a team like On Display Signs comes in, taking your plan and managing every technical detail to ensure a perfect and safe installation.
We handle the entire process from start to finish—helping refine the design, fabricating your sign to exact specs, and, most importantly, making sure the final installation is rock-solid.
Our experienced installers have the right tools and expertise for any wall surface. We also navigate the maze of local codes and regulations, a step that's easy to overlook but critical for compliance. For a deeper dive, you can learn more about navigating sign permit requirements in our guide. From the first sketch to the final sign-off, we make sure your project is safe, stunning, and elevates your space.
Frequently Asked Questions
When you're investing in a new sign, you're bound to have a few questions. That's a good thing. Getting the right answers upfront is what separates a smooth, successful project from a frustrating one. Here are some of the most common questions we hear from businesses about standoff mounts.
How Far Apart Should Standoffs Be Placed on a Sign?
This is one of the most critical questions, and the answer isn't one-size-fits-all. It comes down to the sign panel's material, its thickness, and its overall weight. Think of it like supporting a heavy shelf—the more weight, the more support you need.
For a standard acrylic sign, a solid rule of thumb is to place standoffs about 2-3 inches in from each corner, with no more than 24-36 inches between any two mounting points. This is usually enough to prevent the material from bowing or warping over time. If you're working with a heavy material like thick glass or a solid metal panel, that spacing needs to shrink to handle the extra load.
Actionable Insight: The only way to be certain is to have a professional calculate the load distribution for your specific sign. This guarantees your sign will hang perfectly level and stay secure for years, with no sagging or stress on the material.
Can I Install a Standoff Wall Mount Myself?
While a DIY installation might be tempting for someone with carpentry skills and the right tools, we almost always recommend professional installation. The stakes are simply too high, especially for a large, heavy, or high-value sign that represents your brand.
A professional installer does more than just get the sign on the wall. They ensure it's perfectly level and, most importantly, use the right anchors for your specific wall—whether it's drywall, concrete, brick, or even glass. An improper installation isn't just an eyesore; it's a serious safety risk and can end up damaging your expensive sign or the wall itself. For a flawless result and total peace of mind, let an expert handle it.
What Is the Difference Between Edge Grip and Through-Hole Standoffs?
The key difference is how the hardware connects to your sign panel, which changes both the look and the strength of the mount.
Through-Hole Standoffs: This is the classic, heavy-duty method. We drill a clean hole through the sign panel, and the standoff barrel passes through it, secured by a cap on the front. This creates a powerful "sandwich" grip that offers maximum strength, making it the go-to choice for larger, heavier signs.
Edge Grip Standoffs: These offer a sleek, minimalist look by clamping onto the sides of the sign panel with small, discreet setscrews. This means no drilling is needed, leaving your sign face completely clean and uninterrupted. They are perfect for lighter materials or when you want the hardware to be as invisible as possible.
How Do I Clean My Standoff-Mounted Sign?
Keeping your display looking brand new is simple, but the right technique is crucial. For the sign panel itself (like acrylic or glass), a soft microfiber cloth with a simple soap-and-water solution is your best bet. A specialized plastic cleaner also works well. Never use ammonia-based cleaners like Windex on acrylic, as they can cause permanent clouding or fine cracks known as crazing.
For the metal standoff hardware, a quick wipe with a dry microfiber cloth is usually all you need to clear away dust or fingerprints. If you have stubborn smudges on stainless steel or chrome, use a lightly dampened cloth and then polish with a dry one to restore the shine. Gentle, regular cleaning is the secret.
Ready to elevate your brand with a stunning and professional standoff wall mount sign? The team at On Display Signs, Inc. manages every detail, from design and fabrication to secure installation, ensuring your project is a complete success. Contact us today to get started.


